
How to Plan Interior and Exterior Lighting So Your Home Looks Right After Dark
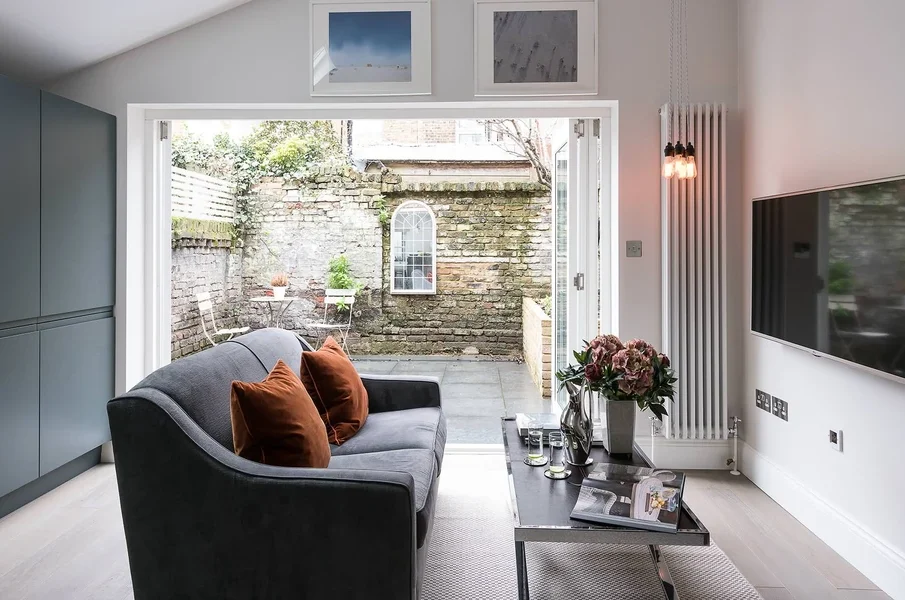
Most people buy light fixtures the way they buy throw pillows: one at a time, because something caught their eye. Six months later the kitchen glows like an operating room, the front walk disappears into a black hole, and nobody can explain why the house feels off after sunset.
The fix isn’t more fixtures. It’s a plan made before anyone touches a screwdriver. Lighting is the only home upgrade that changes how a space feels every single hour of the day, and it’s also the one people plan the least. You can get it right in an afternoon of thinking, then hand that thinking to whoever does the work.
Here’s the short version. Decide what each space needs to do, layer your light instead of relying on one source, and treat outdoor lighting as security plus curb appeal in the same budget. If wiring, new circuits, or anything beyond a bulb swap is involved, that’s when most homeowners call in interior and exterior lighting installation services rather than guess at load calculations and local code themselves.
Start With the Room, Not the Fixture
Walk into any room in your house at 9 p.m. and ask one question: what happens here? A kitchen where you chop vegetables needs bright, even light on the counters. That same kitchen at dinner needs a dimmable pendant over the table and almost nothing else. Two moods, one room, different lighting tasks.
I’d bet most disappointing lighting jobs trace back to this mistake: one fixture doing every job. The builder put a single dome light in the center of the ceiling, and it’s been wrong for everything since move-in.
Sort each room into three layers before you shop:
- Ambient: the base layer that keeps you from tripping. Ceiling fixtures, recessed cans, or a large flush mount.
- Task: the light aimed at the work. Under-cabinet strips, a reading lamp, the fixture over the bathroom mirror.
- Accent: the layer that makes a room look intentional. Picture lights, a floor lamp in a dark corner, toe-kick lighting under stairs.
You don’t need all three in a hallway. You almost always want all three in a living room. The count matters less than covering the jobs.
Why Should You Switch to LED Before Anything Else?
If your fixtures still take incandescent bulbs, change that first. It’s the cheapest step with the biggest payoff, and it makes every other decision easier because the color and brightness become predictable.
According to the Department of Energy, LED bulbs use dramatically less electricity than traditional incandescent bulbs and last far longer, which is why they now dominate residential lighting. For you, that means you can add the accent layers you actually want without watching the meter spin. One caution from experience: buy all your bulbs in the same color temperature in one order. A 2700K bulb next to a 5000K bulb in the same ceiling looks like a mistake, because it is one.
Exterior Lighting Has Two Jobs, and You Need Both
Outdoor lighting isn’t decoration that happens to help you see. It’s safety equipment that happens to look good. Those are two requirements, and cheap plans usually satisfy one and ignore the other.
Doorways and steps come first. Every place a person steps down, turns a corner, or fumbles for keys needs light on the ground, not in their eyes. Path lights that throw glare upward make steps harder to read, not easier, so aim for fixtures that push light down and out.
After safety, think in zones. A few well-placed uplights on a tree or the front of the house do more than a dozen scattered stakes along the lawn. Motion lights on the sides and rear of the house handle the security angle without leaving the porch glowing all night.
One thing I’d never skip: a timer or photocell. Lights that come on at dusk and shut off at dawn protect you even when you’re away, and they save you from the nightly debate about whether you already turned the porch light off.
Layer Your Budget Like You Layer Your Light
Money disappears fast in lighting projects, mostly in fixtures with personality. Before you fall for a $180 pendant, decide what share of the budget goes to the parts nobody sees.
I use a rough split I call the three-thirds rule, and it has never steered me wrong:
- One third to infrastructure: wiring, boxes, dimmers, switches, outdoor-rated cable and connectors. Boring, non-negotiable, and the reason a system survives a decade.
- One third to fixtures: the visible pieces, spread across rooms so no single showpiece eats the whole allowance.
- One third to controls and reserve: dimmers, timers, smart switches, plus a cushion for the surprise you will find in a wall built in 1974.
Spend the reserve on controls before you spend more on fixtures. A $40 dimmer changes how a room feels more than a $200 shade does, and no fixture purchase is truly finished until it’s on a dimmer.
A Five-Point Checklist Before You Buy Anything
Run this list once and you’ll avoid most of the returns, rewires, and regret.
- Walk the house at night with a flashlight. Note every dark step, every harsh glare spot, and every room that feels wrong. Ten minutes, real answers.
- Write the layer plan for each room. Ambient, task, accent. Circle what’s missing instead of what’s ugly.
- Standardize your bulbs. Pick one color temperature for indoors and one warmer option for outdoors, then buy in bulk.
- Check what the circuit can take. If you’re adding fixtures or a new outdoor run, know the load before you buy. The National Institute of Standards and Technology maintains the electrical codes and standards that local inspectors work from, which is a decent sign that this part is worth getting right the first time.
- Confirm permits and outdoor ratings. Fixtures marked for wet or damp locations belong outside, and your local building office can tell you what a project needs. The Department of Housing and Urban Development publishes guidance on home electrical safety that’s worth a skim before any wiring project starts.
My honest take on the checklist: if items four and five make you want to close the browser, that’s not a reason to skip them. It’s the signal to bring in a licensed electrician and let them carry that weight while you keep control of the design decisions.
Small Changes, Big Difference
The nicest lighting I’ve seen in an ordinary house wasn’t expensive. It was deliberate. Someone decided what each room was for, put light where the work happens, kept the outdoor paths visible, and spent ten extra minutes matching bulbs so nothing looked mismatched.
You can do the same thing this weekend with nothing but a notebook and an evening walk around your own house. Write down what’s dark, what’s harsh, and what’s missing, then work the list one layer at a time. When you get to the part that needs a ladder, a new circuit, or a permit, let a pro handle it and keep the fun decisions for yourself. So which room in your house is going to annoy you at sunset tonight?